DisplayHUB Encoder — Pi IR Control Setup

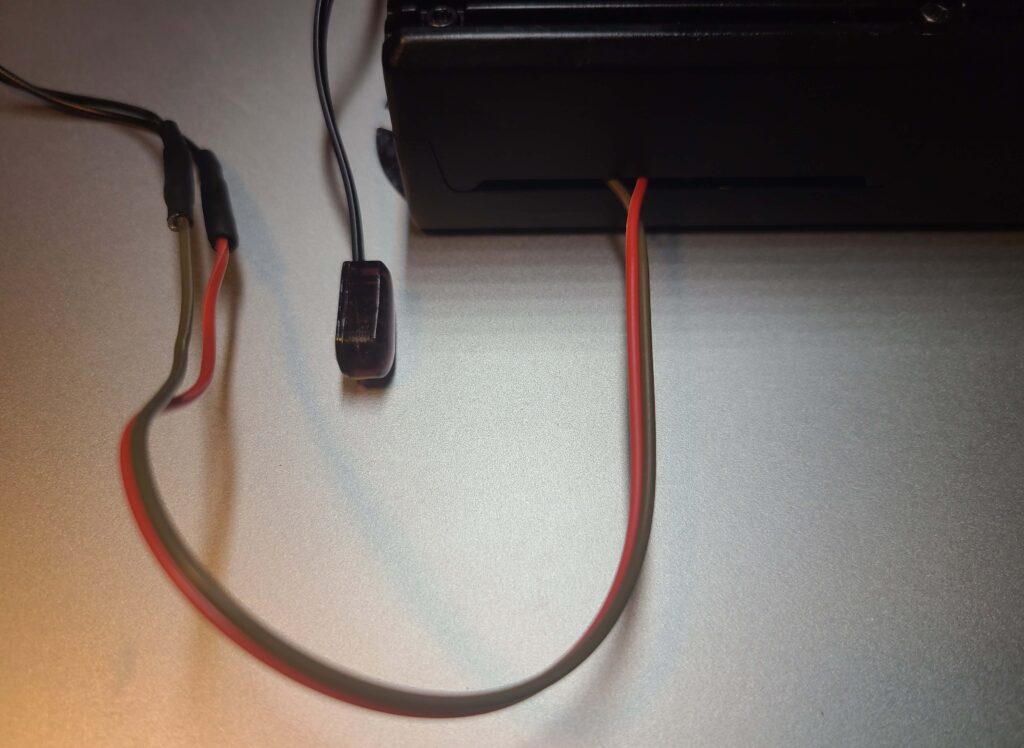
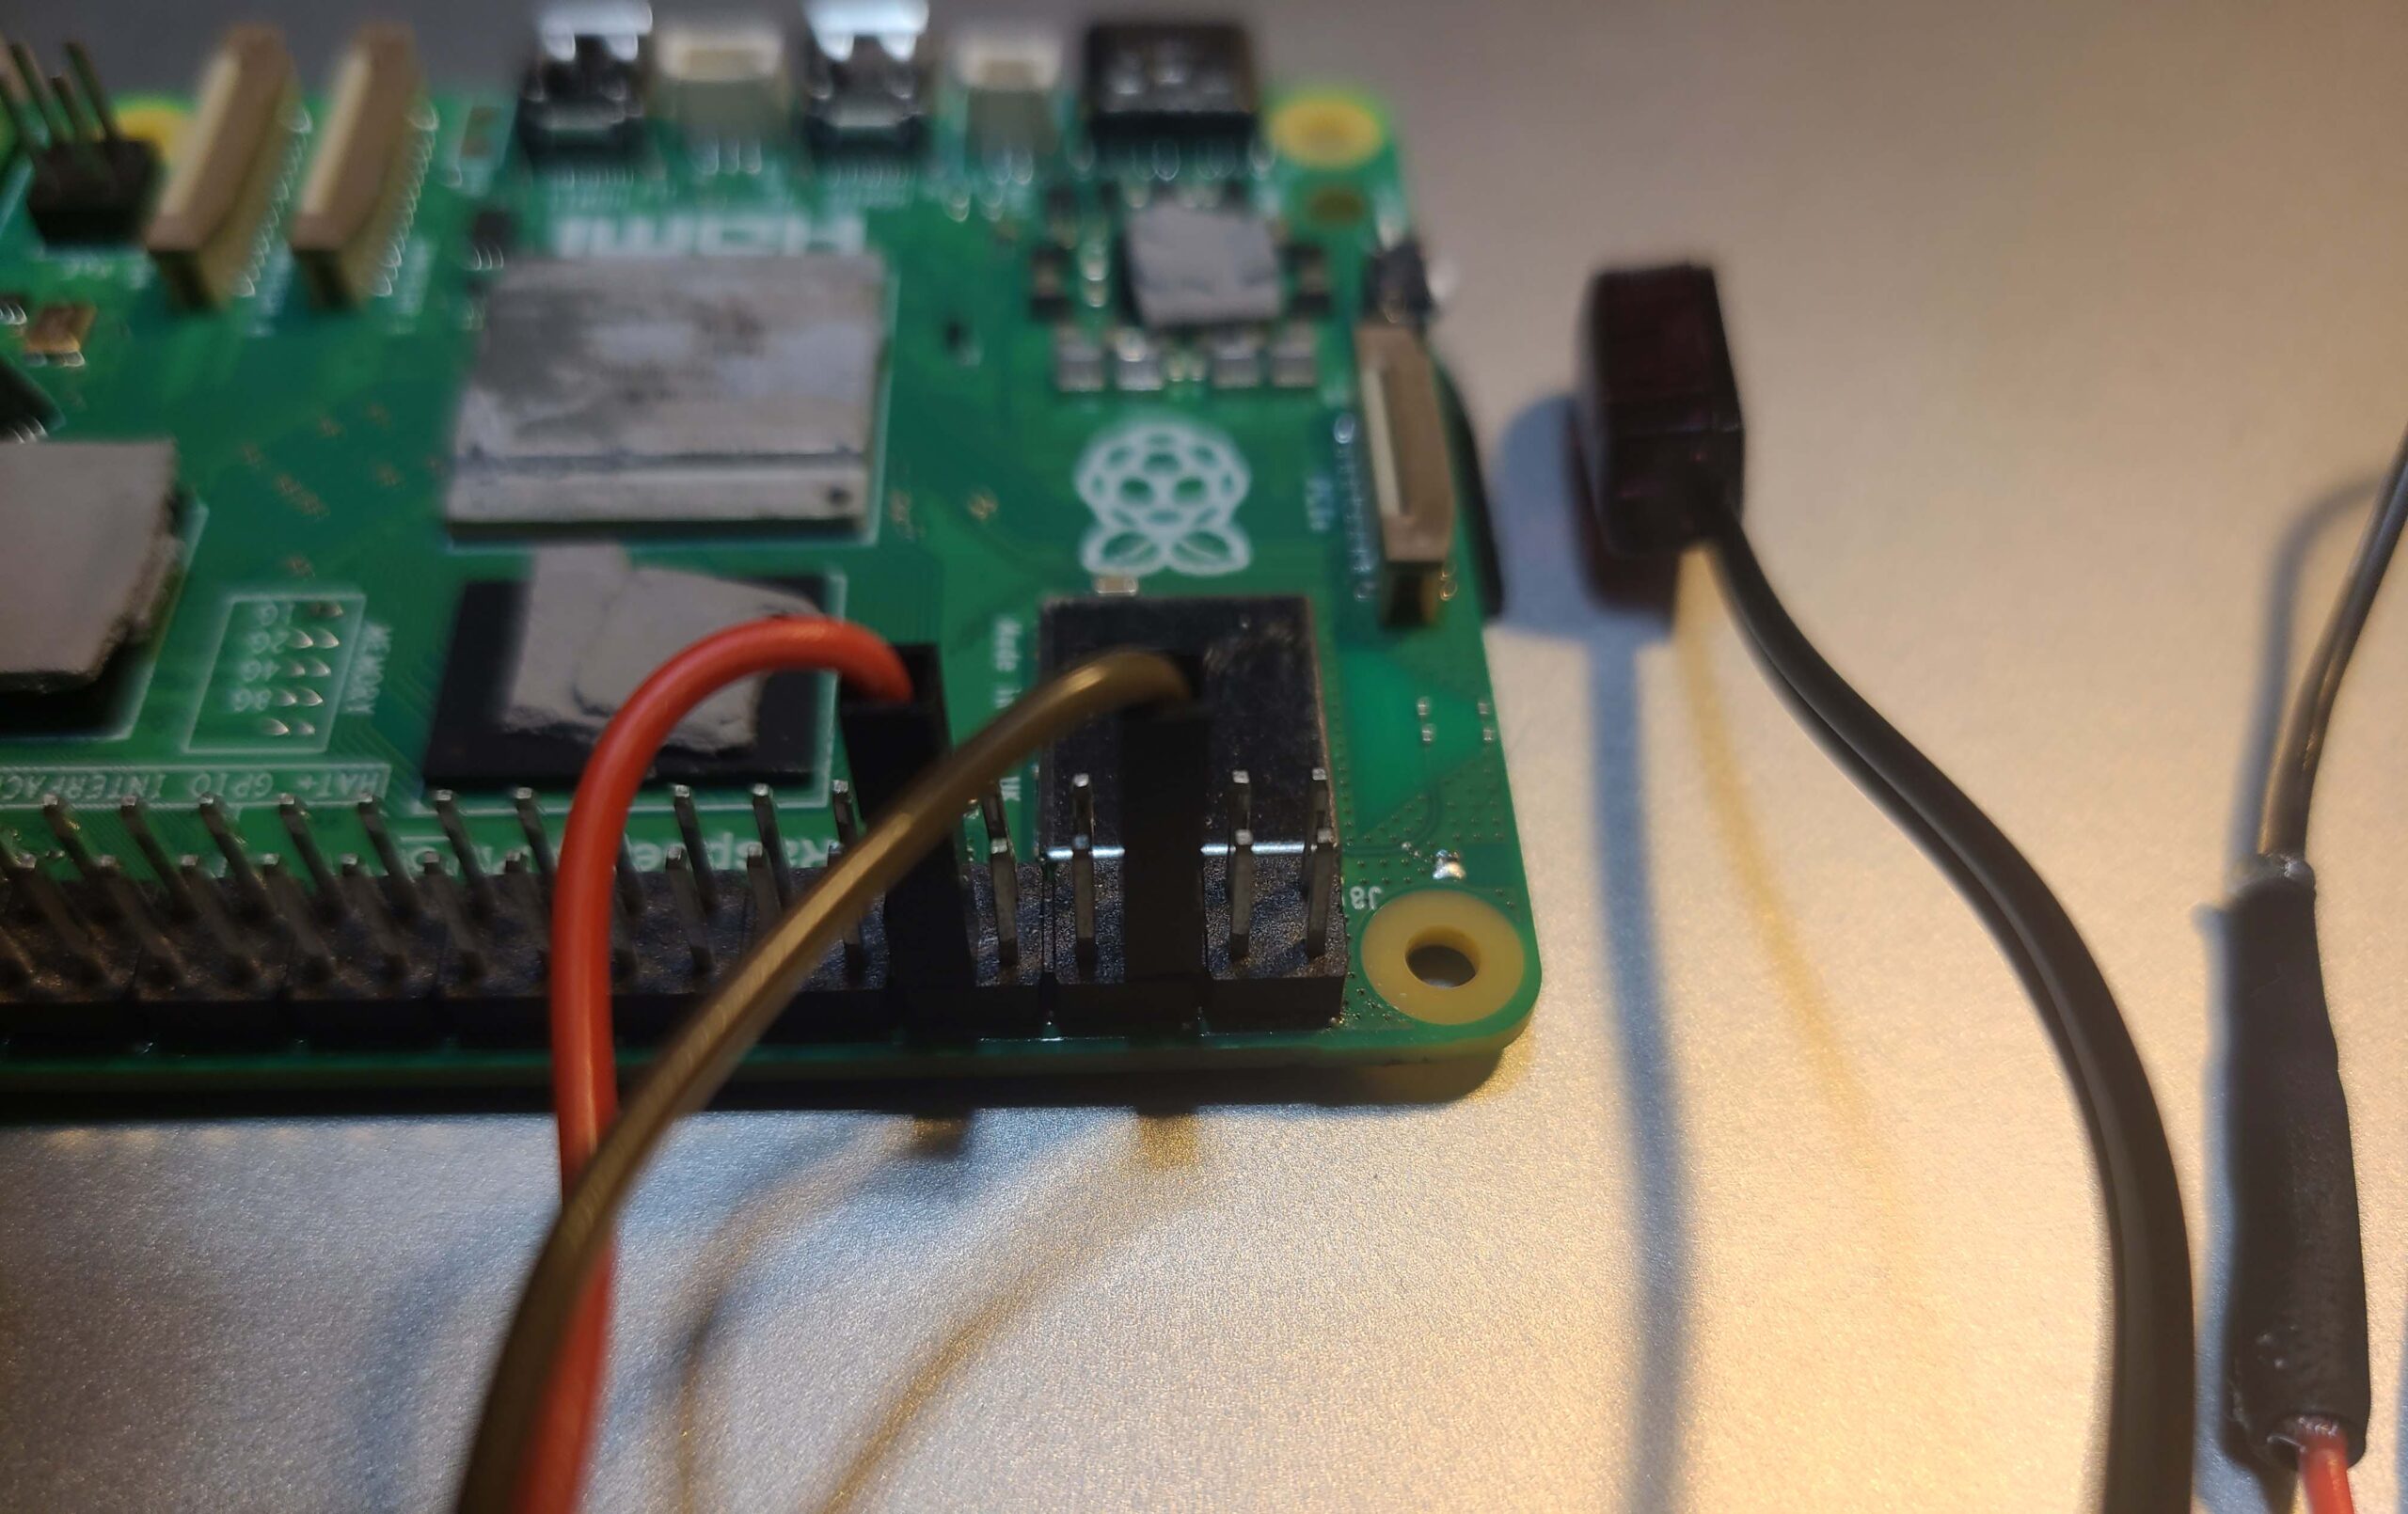
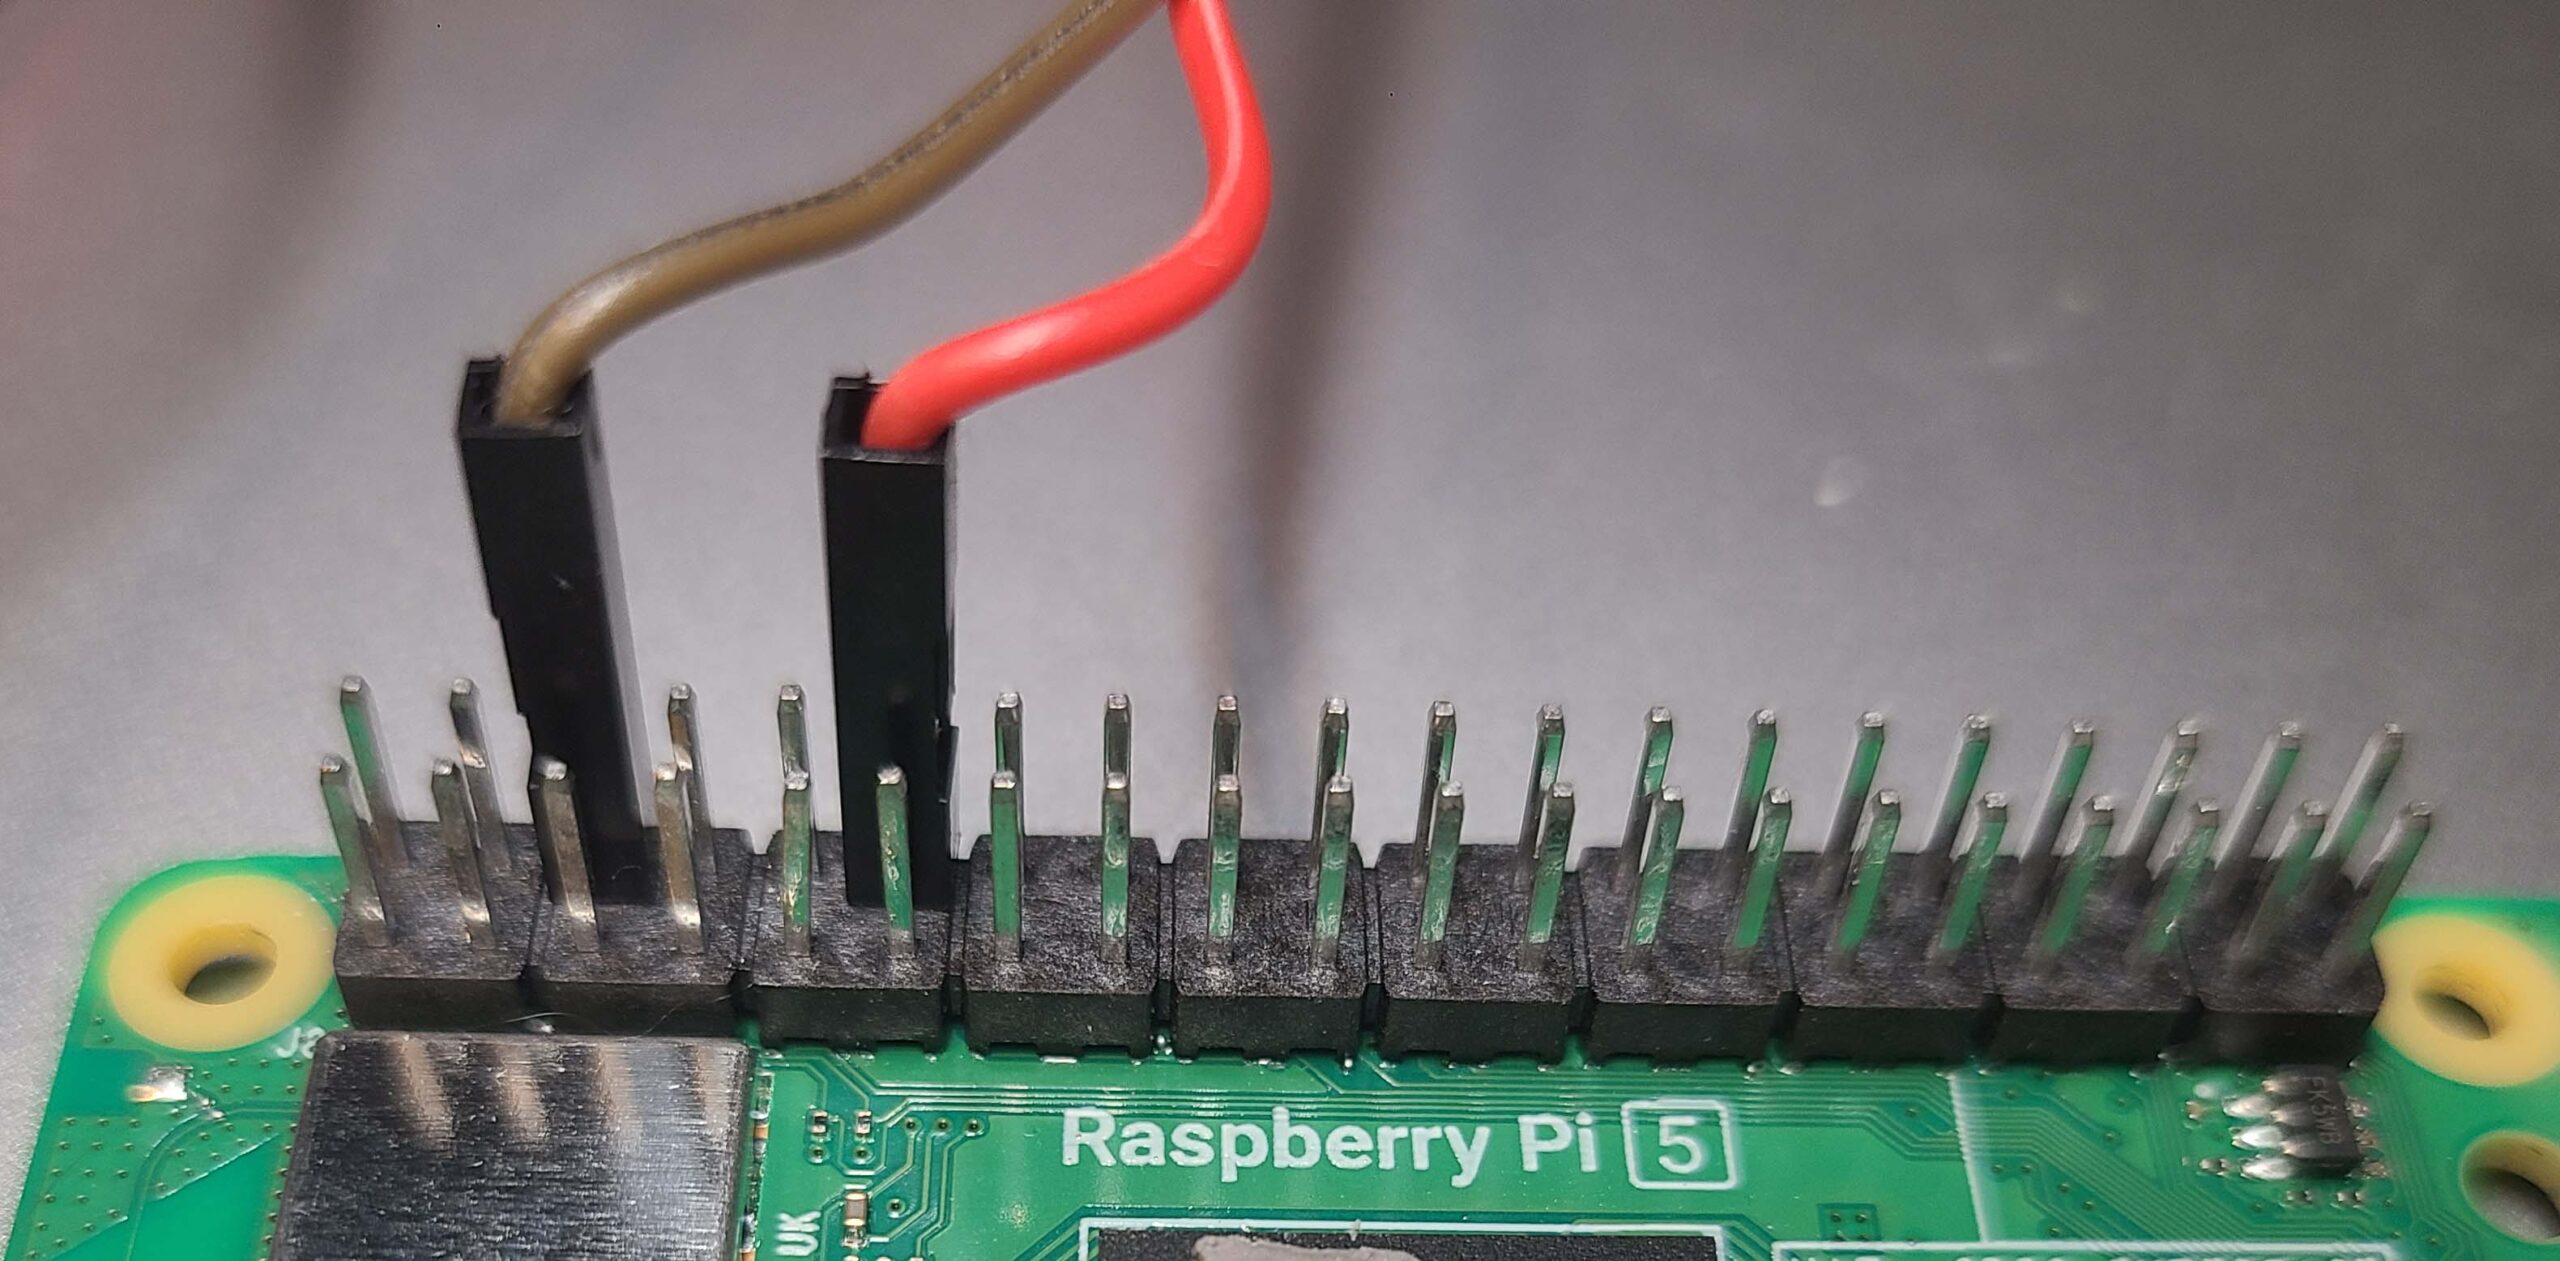
Your DisplayHUB Pi encoder has IR blasting built right in. A $5 cable and five minutes of wiring gives you full software control of your connected device — no remotes to track down, no extra hardware to manage. This guide shows you exactly how to wire it up and get it working.

Two Ways to Add IR Control

We support two approaches depending on your setup. Both are managed from the same interface inside DisplayHUB.

Option 1 — Built-In Cable (Recommended)

This guide covers the built-in option: a simple IR emitter cable wired directly to your Pi’s GPIO pins with a pair of jumper wires. The emitter sits right in front of your device and blasts IR only where you aim it — other boxes in the room are unaffected.

  • Cost: a few dollars in parts
  • Wiring: two wires to two GPIO pins — takes about five minutes
  • Signal: targeted — only controls the device directly in front of it

Option 2 — Broadlink RM4 (No Wiring)

If you’d rather not wire anything, the Broadlink RM4 connects over Wi-Fi and blasts IR wirelessly. The trade-off is that it sends in all directions — if you have several Xumo boxes in the same room, one RM4 can change the channel on all of them at once unless you physically block or tape off its emitter window.

Wiring the Emitter Cable

You only need two connections. Follow the three steps below and you’ll be sending IR commands from the DisplayHUB interface in minutes.

Step 1 — Prepare the Cable

Take your IR extension cable and cut both plug ends off, leaving yourself a generous length of cable to work with. You’ll find two wires inside. Separate them slightly at the cut end — about an inch — so they’re easy to handle. If you’re using jumper wires to bridge the connection, strip a small amount of insulation from each wire and twist the bare ends together with the corresponding jumper.

Don’t worry about polarity at this stage. If the emitter doesn’t work after connecting, simply swap the two wires — it’s a quick fix and completely harmless to the Pi.

Step 2 — Connect to the Pi

Hold the Pi so the USB and Ethernet ports are on your right. The 40-pin GPIO header runs along the top edge. You’ll work at the left end of that header — the end closest to the USB-C power port and micro-HDMI connectors.

Both wires go to the inner row (the row closer to the center of the board):

  • Ground → Pin 6 (6th pin from the left end, inner row)
  • Signal → Pin 12 (12th pin from the left end, inner row)

Pin 1 is marked on the board with a square pad at that same left end, which makes it easy to count. If you’re unsure, refer to the pinout diagram — GPIO 18 is pin 12, which is the IR transmit line.

Step 3 — Position the Emitter

Route the emitter cable around to the front of your device and position the emitter head directly in front of the IR receiver window — this is usually a small dark lens on the front face, often near the bottom edge or center.

The emitter needs line-of-sight to that window, but doesn’t need to be touching it. A few centimeters away works fine. Use a small piece of double-sided tape or a magnetic base to hold the emitter in place so it doesn’t shift over time.

To confirm it’s working, open your phone’s camera app and aim it at the emitter while triggering a button from DisplayHUB. You’ll see a purple or white flicker — IR is invisible to the naked eye but shows up on most phone cameras.

Common Issues & Fixes

Nothing happens when I send a command

First, verify the Pi is actually blasting. Open your phone’s camera app, point it at the emitter head, and trigger any button from the DisplayHUB remote screen. If the emitter is working you’ll see a visible purple or white flash on your camera — IR is invisible to the naked eye but cameras pick it up clearly. If you see a flash but the device isn’t responding, try swapping which wire is on pin 6 versus pin 12. If you see no flash at all, double-check that both wires are fully seated on their pins and the correct service is running on the encoder.

Some buttons work but others don’t respond

Individual buttons can be re-taught at any time if you have the learningcable installed. From the encoder’s Remote screen, click through to the Teach screen and double-click any button that isn’t responding to begin re-teaching it. Hold your original remote close to the encoder’s IR receiver and press the corresponding button when prompted. Once taught, the new code is saved immediately and will be used for all future commands.

It’s controlling other boxes in the room

This is typically an emitter placement issue — if the emitter is out in the open rather than pointed directly at a specific device, the IR signal can scatter and reach nearby boxes. Make sure the emitter head is aimed squarely at the IR receiver window of the target device. If you need to narrow the beam further, a small sleeve of black electrical tape around the emitter head works well to limit the angle of the signal.

Frequently Asked Questions

Do I also need the IR learning cable?

Not for Xumo — those codes are pre-loaded in the firmware and ready to go out of the box. The IR learning cable is only needed if you want to add support for a different device we haven’t pre-loaded, or if you have a customized remote with non-standard codes. If you do need it, connect it to the Pi as follows: Red → Pin 1 (3.3V power), Black → Pin 9 (Ground), White → Pin 11 (GPIO 17 — IR receive). Then use the Teach screen in DisplayHUB to capture codes from your existing remote one button at a time. You can also send in your remote for programming by us for a fee.

Can I use this to control devices other than Xumo?

Yes — the IR system works with any device that accepts IR commands. The emitter cable and wiring are the same regardless of device. The only difference is that for non-Xumo devices you’ll need the IR learning cable to capture that device’s button codes from your existing remote before the software remote will work.

Can I use the Broadlink RM4 instead of wiring?

Yes — the Broadlink RM4 is fully supported and requires zero wiring. You’ll add it as a device in your DisplayHUB settings using its IP address after connecting it to your network via the Broadlink app. The main consideration is signal coverage: the RM4 blasts IR in all directions, so if you have several boxes in the same room, one unit can inadvertently control all of them. Taping over most of the emitter window or physically shielding the RM4 on three sides usually solves this if it’s an issue.

The emitter keeps falling off the front of the device

The flat back of the emitter takes to adhesive well. A small square of double-sided foam tape gives a clean, removable hold. Alternatively, a magnetic base (available on Amazon) lets you stick the emitter anywhere with a metal surface nearby without any adhesive at all — it’s easy to reposition if you move the equipment.