DisplayHUB Device Setup
Ship ready-to-install systems, preconfigured Pis, or full DIY with our install commands.
Ship ready-to-install systems, preconfigured Pis, or full DIY with our install commands.
You can run DisplayHUB in three ways:
We also offer consulting and installation services for more complex venues or multi-site rollouts.
Under the hood, DisplayHUB uses:
Important:
There are no passwords inside the DisplayHUB control layer. All Pis and players must live on a private staff-only LAN, never on guest WiFi or public networks.
Leave your current setup in place. Unlike most video matrix systems, you do not need to rewire or move anything.
You can place the controller anywhere, and each encoder can be placed alongside your current inputs, DirecTV boxes, or cable boxes.
Free consultation services are available to large venues (20+ displays), or hire your local computer people for a few hours.
Our systems are simple and standard.
Roles at a glance
![]()
![]()
![]()
![]()
![]()
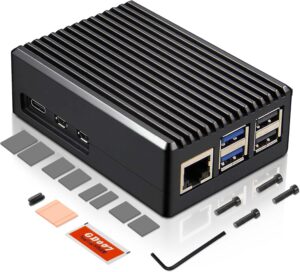
The controller handles the web UI, discovery, routing, and upgrades.
It does not need capture hardware.
~140
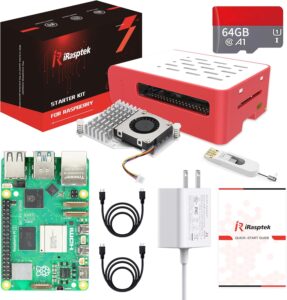
On a budget? Here is a complete starter kit around $100 (prices vary).
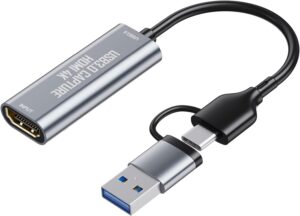
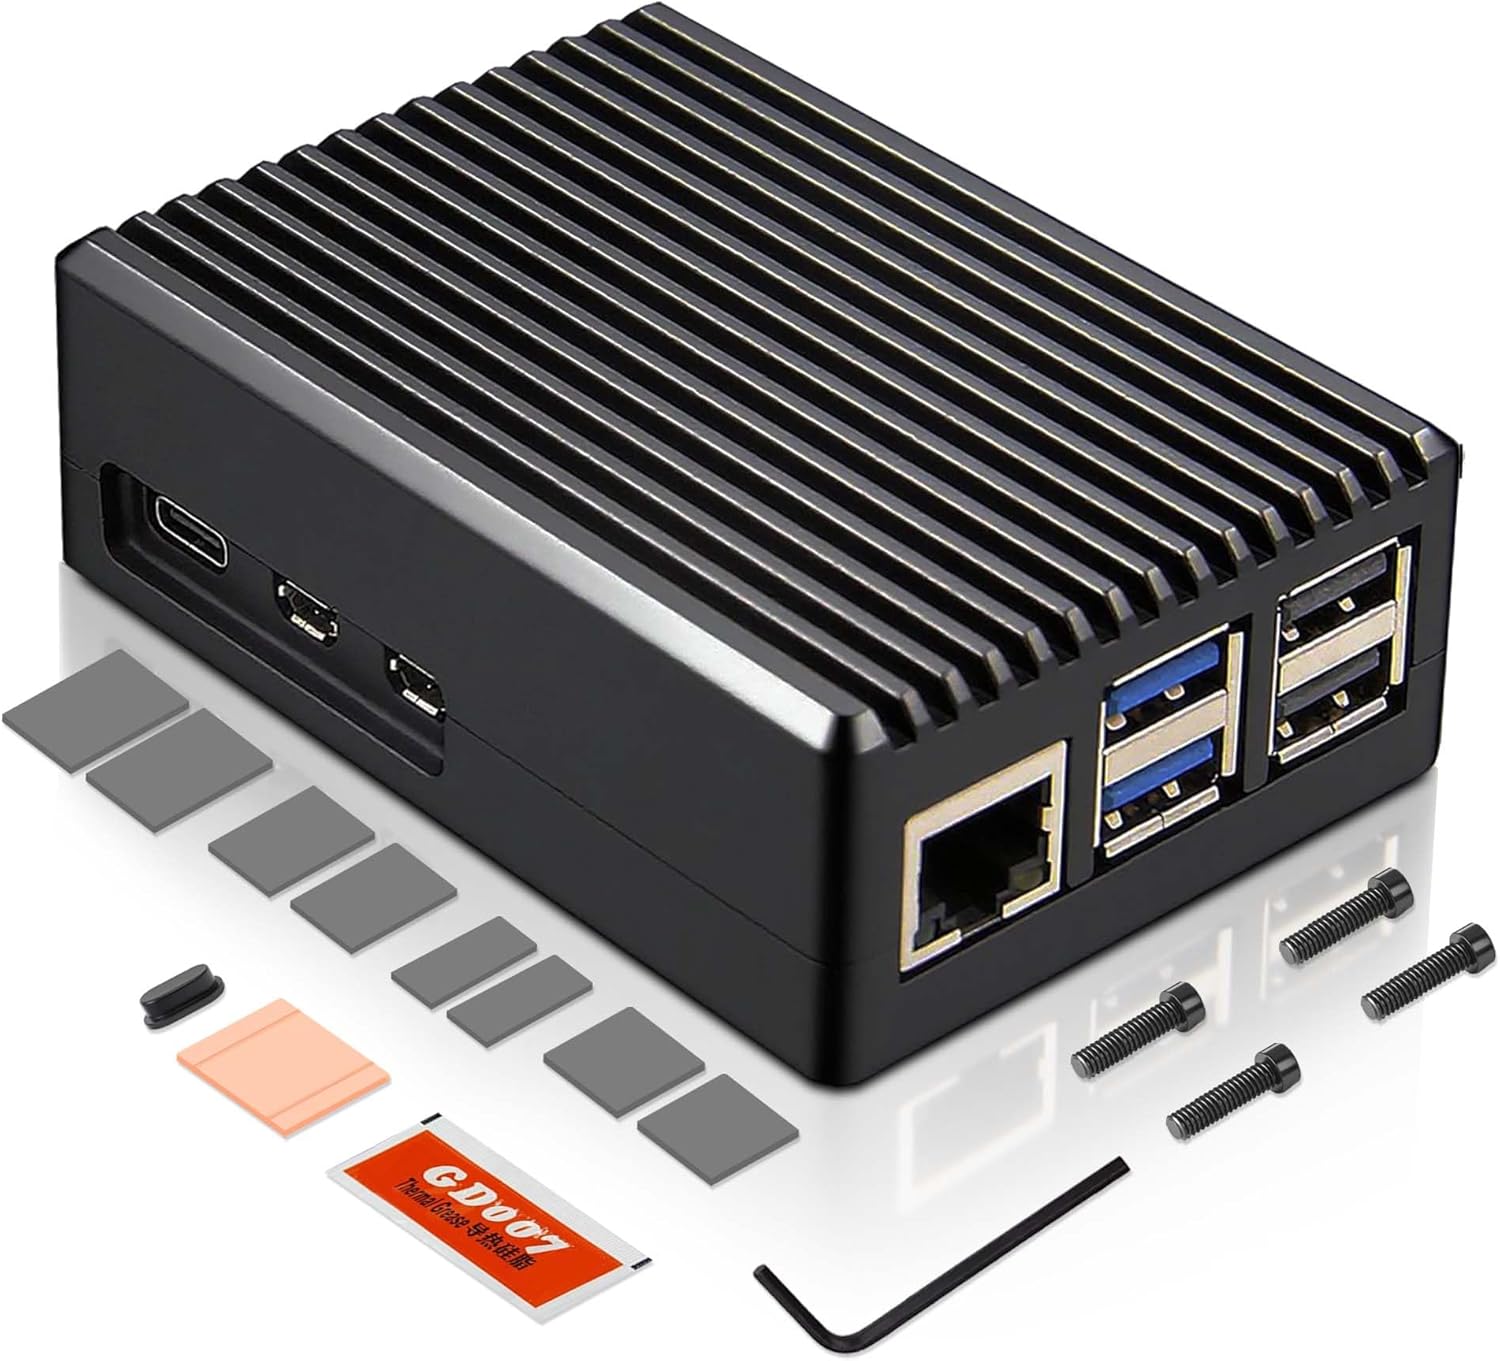
IMPORTANT: Install the HDMI USB device below into the upper-left USB port of the Raspberry Pi 5.
Encoders can take in live HDMI, local video files, or remote video URLs.
Use an SD card imaging application like Balena Etcher to flash our custom firmware.
Once booted, you can manage everything through the built-in web dashboard.
Please contact us for a link to the downloadable images used to flash your Raspberry Pi SD cards.
Once connected, all inputs appear as routable sources in DisplayHUB.