
DisplayHUB / quick start
Your first picture. Six easy steps.
Plan your local DisplayHUB setup: one Android controller per location, encoder inputs, and TV players. Android apps are in beta; request consideration to join.
Start with one TV and one authorized HDMI source. Keep your existing source devices and TV wiring in place; put an encoder beside each source and add a compatible HDMI splitter where needed to keep the current feed connected. You do not need to configure every feature today. Get a picture first, then explore everything DisplayHUB can do.
Step 1 / Put everything on the table
A small setup is all you need.
- One Android phone or tablet for your controller. You only need one controller per location; it manages all your inputs and screens.
- One more Android device for your first encoder input. Each encoder is one HDMI input. Start with one and add as many inputs as you need, within your network's capacity.
- For each input: a powered USB charging/data hub, USB HDMI capture dongle, charger, and HDMI cable. The hub lets the encoder charge while the capture dongle uses USB data.
- A compatible HDMI splitter at the source if you need to keep its current HDMI connection in place.
- A TV or streaming device that can run the DisplayHUB player app.
- Optional: a TView USB IR blaster if you want to send remote-control commands to a compatible source.
Keep controller, encoder inputs, and TV players on separate devices. A controller needs ARM64 Android 9+; an encoder needs ARM64 Android 8+, USB host support, and hardware H.264. If you are unsure about a phone or hub, ask before buying.
As an Amazon Associate, DisplayHUB earns from qualifying purchases through hardware links, at no extra cost to you. Check the listing and your Android device's charging/data compatibility.
Step 2 / Give your devices a place to talk
Use a private network—not a public cloud dashboard.
Your existing password-protected venue network is fine. Or create a separate private Wi-Fi network just for DisplayHUB. Connect the controller, all encoder inputs, TVs, and the phone or laptop you will manage them from to that same network.
The browser page is served by your Android controller inside the building. It is not a public internet control panel. Do not use public guest Wi-Fi. Allow the DisplayHUB devices to talk to each other, keep guests separate, use Ethernet where practical, and do not open router ports to the internet.
If the internet drops, local control and available local-source playback can continue while your LAN and devices stay powered. A prolonged outage may cause a licensing watermark. An internet-fed channel still needs internet; DisplayHUB cannot keep the provider’s source online.
Step 3 / Install once per location
This Android device is your controller.
Coming soon. Controller is currently in beta. Request consideration using the button or QR code; neither is an APK download.
- Once invited, open the private installation instructions on your chosen controller device.
- Install the Controller app. If Android asks you to approve installation, follow the prompts on that screen.
- Open DisplayHUB Controller. Approve its on-screen prompts and let it run in the background. The first launch can take a few minutes.
- Leave this one device powered and connected to your private network for the whole location.
 Scan for beta information
Step 4 / Start with one input, add more later
Each encoder is one HDMI input.
Use a different Android device for each source you want available at the same time: DIRECTV or Xumo boxes, or an HDHomeRun antenna setup when a compatible HDMI output is available. If a source already feeds your current system, place a compatible HDMI splitter beside it: keep one output connected as it is today and connect the other to the encoder. Native HDHomeRun network input is not currently supported. You do not need another controller when you add an input.
Coming soon. Encoder is currently in beta. Accepted testers receive the app and instructions directly.
- Once invited, follow the private instructions to install and open DisplayHUB Encoder. Approve the camera, audio, notification, and USB prompts as they appear.
- Connect your charger to the hub charging port. Connect the hub to the Android device.
- Connect the source's HDMI output—or the spare output of its splitter—to the HDMI capture dongle, then plug that dongle into a USB data port on the hub. A hub's HDMI output is not a capture input.
- If Android asks which app should open the USB device, choose DisplayHUB Encoder and Always open when offered.
 Scan for beta information
Keep the encoder app open while you finish setup. Its screen shows the browser address for that input, such as http://192.0.2.20:8080/; use the actual address displayed on your device. Start at 1080p (Full HD), 30 fps and approximately 6,000 kbps when supported. Lower the setting if a device or network struggles.
Adding the optional USB IR blaster?
Plug the supported TView USB IR blaster into a hub USB data port and approve Android's USB prompt. In the encoder's browser Settings, use USB IR Blaster to choose a suitable remote profile. Point the transmitter at your source. Use either network control or USB IR for that source, not both. IR is optional; skip it until you have a picture. Detailed source-control guide.
Step 5 / Put a player on each TV
Search your TV's app store for DisplayHUB.
Open the app store on your TV or streaming device, search for DisplayHUB, install the player, and open it. Keep it on the same private network. Accept any pairing prompt you see on the real TV.
 Android TV / Google TVPlayer setup & store links →
 Amazon Fire TVPlayer setup & store links →
 RokuPlayer setup & store links →
 Samsung TizenPlayer setup & store links →
 LG webOSPlayer setup & store links →
Store availability varies by model and region. Samsung Tizen currently needs the separate installation steps on its player page rather than an assumed store listing. Do not install the Controller or Encoder app on your TV in place of the player.
Step 6 / Open the dashboard and pick a screen
You are ready to connect the pieces.
After installing the apps through the beta program, use a phone, tablet, or computer on the same private network and open:
- If that name does not open, use the IP address shown in the Controller app, keeping :8081 at the end.
- Find your encoder input and TV in the dashboard. Open Matrix or choose Use as Source on the encoder card.
- Choose the TV that should play that input. Check the picture and sound on the TV.
- To grow, install another player on another TV, or repeat the Encoder steps for another HDMI input. Keep the same one controller per location.
Leave the Android devices powered and allow background operation. Before tucking them away, check charging, heat, audio, and recovery after a restart. Think of this as your virtual splitter/matrix, not a source of programming. Protected HDMI may not be capturable; confirm commercial viewing and distribution permissions. DisplayHUB does not provide legal advice.
Easy first picture. Plenty of room to grow.
Start simple. Unlock the power when you are ready.
Once you have a working source and screen, explore layered overlays, source remotes, built-in EPGs to find programs and tune channels where source controls allow it, and room layouts at your own pace. Supported Shelly plugs can switch compatible signs and amplifiers; network or USB IR blasters can control compatible equipment beyond TVs. Follow accessory load ratings and setup guides.
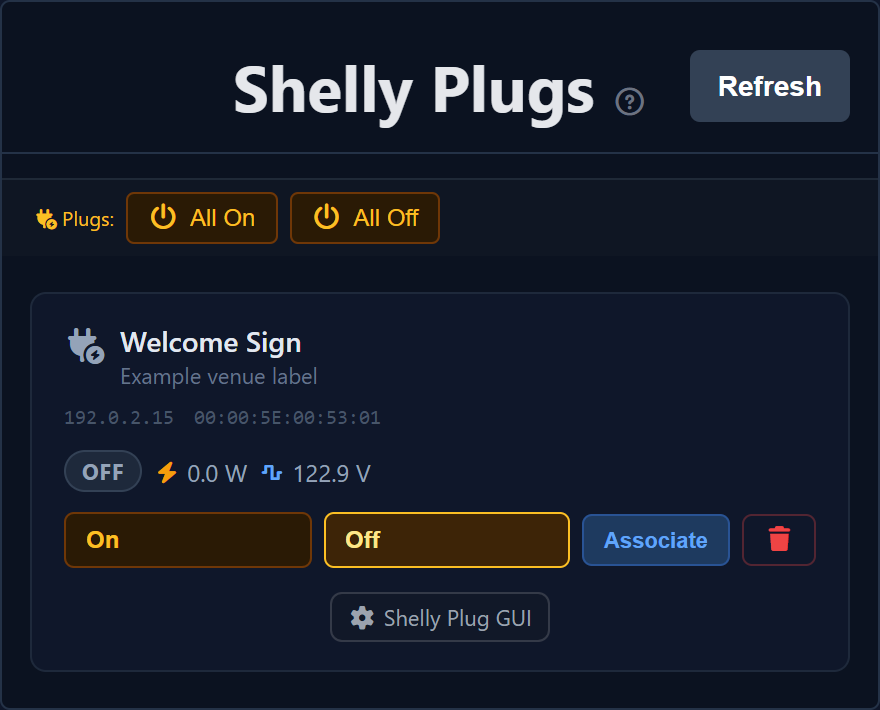
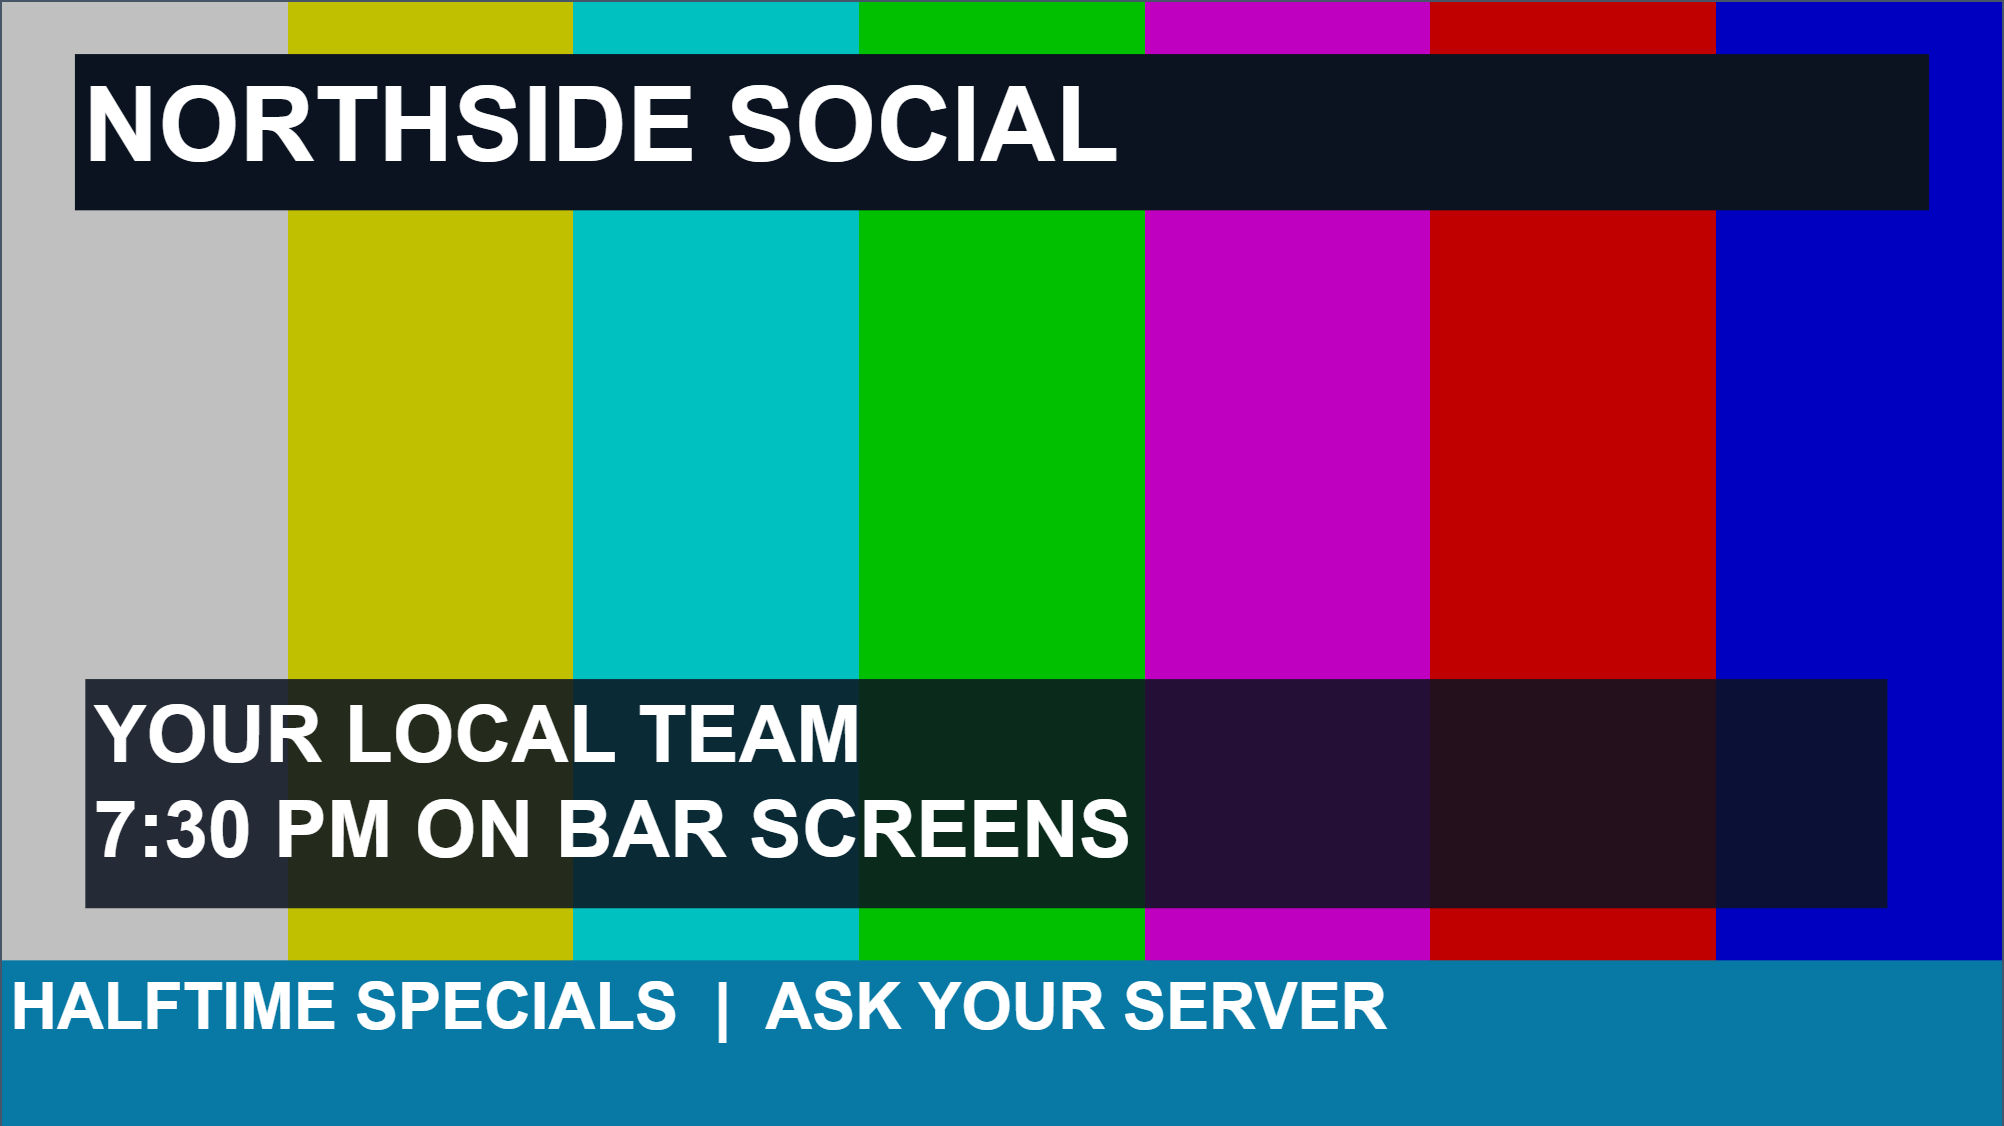
None of that needs to stand between you and your first picture. See the powerful editor and digital-signage-style examples.